

And isn't it so much cuter than a plain old cupcake or one of those 'individual cake molds'....ugh, that's so February.


 |
| Fresh out of the Oven |
 |
| Kind of looks like cranberry sauce |
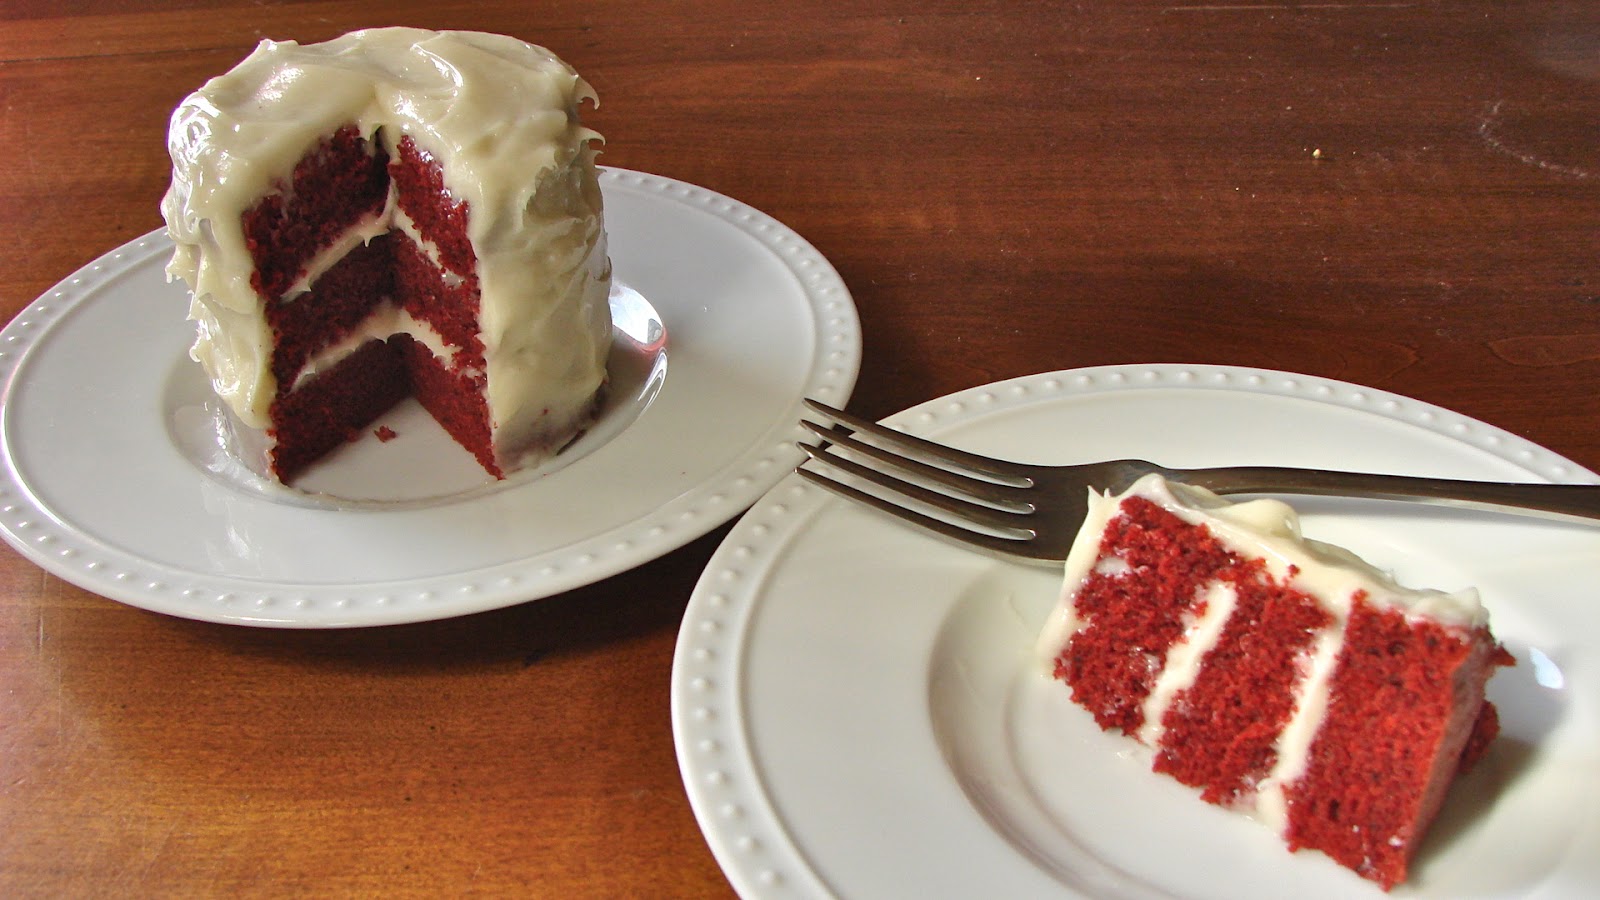
Mini Tin Can Red Velvet Cake
Adapted from The Baker Chick and me :)
1 egg white
2 T sugar
2 T unsalted butter, melted
1 tsp. vanilla
1/4 C minus 1 tsp. flour
1 tsp. cocoa powder
1/8 tsp. baking soda
1/8 tsp. baking powder
1 1/2 T buttermilk (milk is fine too)
1/8 tsp. vinegar
1/2 tsp. red food coloring
dash of salt
empty 15 oz aluminum can with the top lid completely removed
Preheat the oven to 350.
Make sure your tin can is completely clean and dry and use an organic brand if possible. Coat it with either butter or cooking spray and flour. Cut a small round of parchment paper and place it in the bottom of the can.
In a small bowl whisk together egg white and sugar well. Add the butter and vanilla and mix again. Add the dry ingredients, whisking softly to combine. Fold in the buttermilk, vinegar and food coloring. Pour the batter into the can and bake for 25-30 minutes or until a toothpick comes out clean.
Let cool completely, then turn the little cake out onto a plate. Slice off the rounded top of the cake and eat it and then slice the rest into 3 pieces, the lines created by the can will help to make them straight. Frost with your favorite frosting. I like cream cheese frosting, which you can easily make a small amount of.
Just combine about 2 T unsalted, softened butter, 2 oz softened cream cheese, 1/8 C powdered sugar and a dash of vanilla. Or use store bought if that's what you have on hand.
Enjoy!
No comments:
Post a Comment